Breadfruit, renowned for its starchy texture and mild flavor, has been a staple in many tropical regions for centuries due to its versatility and nutritional value.
While the process of harvesting breadfruit may initially appear intimidating, armed with the right knowledge and techniques, you can experience the satisfaction of gathering this abundant fruit and incorporating it into your meals.
In this comprehensive guide, we will take you through each step of how to harvest breadfruit, from the tree to the table.
Step 1: Identifying Ripe Breadfruit
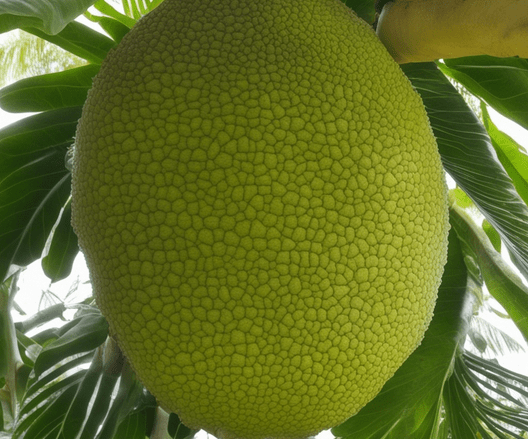
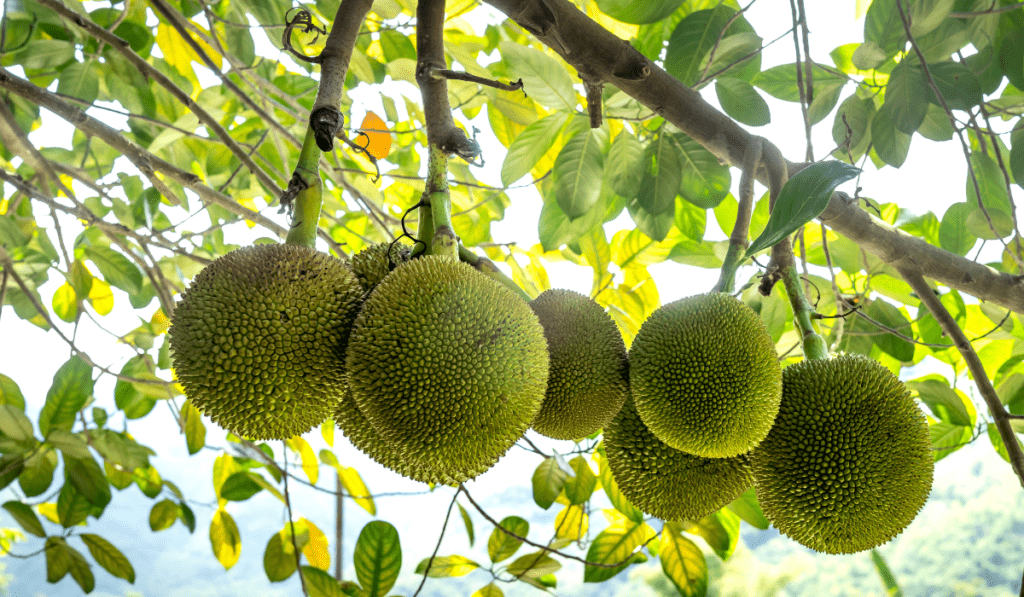
The first crucial step in the breadfruit harvesting process is to accurately identify when the fruit is ripe and ready to be picked. Ripe breadfruit exhibits a vibrant green or yellow-green color, which varies depending on the variety. Additionally, the skin should possess a firm and slightly rough texture when touched. Furthermore, the fruit should yield slightly when gentle pressure is applied.
Step 2: Gathering the Necessary Tools
To ensure an efficient breadfruit harvest, it is essential to gather a few tools beforehand. These tools include a long pole equipped with a hook or a pruning saw to cut the stem, a sturdy basket or bag to collect the fruit, and gloves to protect your hands from the sticky sap. Handling the fruit with care is of utmost importance to avoid any damage.
Step 3: Harvesting the Breadfruit
To successfully harvest breadfruit, begin by cutting the stem of the fruit using the long pole with a hook or pruning saw. It is crucial to exercise caution and avoid causing harm to both the fruit and the tree. Once the stem is cut, gently lower the fruit into the basket or bag. Delicate handling is essential to prevent any bruising or puncturing.
Step 4: Caring for Harvested Breadfruit
After the breadfruit has been harvested, it is crucial to handle it with care to ensure its quality and longevity. Avoid dropping or tossing the fruit, as it is susceptible to bruising. Once harvested, it is advisable to store the breadfruit in a cool, dry place to prevent premature ripening. If you plan to consume the fruit within a few days, room temperature storage is suitable. However, refrigeration will help extend its shelf life.
Step 5: Preparing and Enjoying Breadfruit
Now that you have successfully harvested your breadfruit, it is time to prepare and savor its unique flavors. Breadfruit can be cooked in various ways, depending on your preference. It can be boiled, steamed, roasted, or even transformed into flour for baking purposes. The cooked fruit can be utilized in both sweet and savory dishes, making it a versatile ingredient in numerous cuisines.
Conclusion
Although the prospect of harvesting breadfruit may initially seem daunting, armed with the right knowledge and tools, it can be an immensely rewarding experience. By diligently following these steps, you can confidently harvest breadfruit, ensuring that you select the ripest fruit and handle it with utmost care. So, the next time you come across a breadfruit tree, do not hesitate to give it a try. Harvesting and enjoying this nutritious fruit will not only add diversity to your meals but also connect you to the rich culinary traditions of tropical regions.