
Embark on a delightful journey as we guide you through the enchanting process of planting your own Lady Finger Banana! Follow these nine simple steps to transform your garden into a tropical haven filled with the wonders of Lady Finger bananas. Whether you’re a seasoned gardener or a green enthusiast, our step-by-step instructions promise a bountiful harvest of these sweet and slender bananas. Picture your garden adorned with lush Lady Finger banana trees, offering a taste of tropical paradise. Let’s dive into the easy and exciting adventure of planting Lady Finger bananas and turn your space into a banana haven!
Key Features of Lady Finger Banana
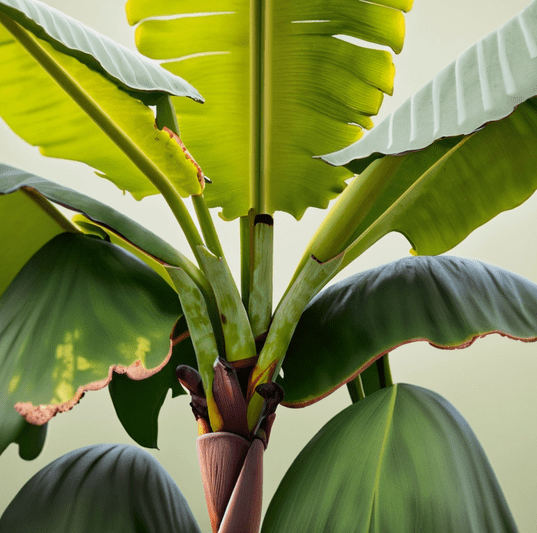
Appearance:
Lady Finger bananas are slender and elegant, with a vibrant yellow peel that conceals the sweet, creamy fruit within.
Taste:
Indulge in the tropical delight of Lady Finger bananas, featuring a sweet and delicate flavor that makes them a favorite for snacking or adding to desserts.
Culinary Uses:
Lady Finger bananas are versatile delights, enjoyed fresh as a snack, added to desserts, or used in baking. Let your culinary creativity flourish with this nutritious tropical gem.
9 Step-by-Step Planting Guide – Lady Finger Banana Tree
Step 1: Sunlit Paradise Spot
Choose a sunny spot in your garden, providing at least 6-8 hours of sunlight daily for your Lady Finger banana tree to thrive.
Step 2: Banana Companions
Plant multiple banana trees close together to create a small banana grove, enhancing the chances of successful pollination and a bountiful harvest.
Step 3: Soil Check
Check the soil for well-draining properties, as Lady Finger bananas prefer soil that doesn’t retain excessive water. Sandy loam soil is ideal for their growth.
Step 4: Nutrient Boost
Prior to planting, enrich the soil with organic matter such as compost or well-rotted manure, providing essential nutrients for the growing Lady Finger banana tree.
Step 5: Digging Delight
Dig a hole that’s twice as wide and just as deep as the banana’s root ball, creating a spacious and welcoming environment for your Lady Finger banana tree.
Step 6: Banana Placement
Gently place the Lady Finger banana tree in the hole, ensuring the top of the root ball sits slightly above the soil level. This helps prevent water from pooling around the trunk.
Step 7: Backfill Brilliance
Backfill the hole with soil, gently firming it around the roots to provide stable support for your Lady Finger banana tree.
Step 8: Watering Wonder
Water the tree generously after planting to initiate proper root establishment. Keep the soil consistently moist, especially during dry periods.
Step 9: Mulch Magic
Mulch around the base of the Lady Finger banana tree with a layer of organic material. This helps retain soil moisture, suppress weeds, and maintain a consistent temperature.
Lady Finger Banana Tree Care and Maintenance
Watering:
Keep the soil consistently moist, ensuring your Lady Finger banana tree thrives in its sunny habitat.
Fertilizing:
Apply a balanced fertilizer regularly, especially during the growing season, to support healthy growth and robust fruit production.
Trimming:
Prune dead or damaged leaves to maintain the aesthetics of your Lady Finger banana tree and promote air circulation.
Guarding Against Pests and Diseases:
Keep an eye out for pests like aphids and diseases like Panama disease. Regular inspection helps you address issues promptly and protect your banana grove.
Harvesting Lady Finger Bananas
When to Harvest:
Wait until the bananas turn a bright yellow color and can be easily peeled from the bunch. This indicates that they are ripe and ready for harvest.
Harvesting Techniques:
Cut the entire bunch with a sharp knife, leaving a small portion of the stem attached to the bananas. Hang the bunch upside down for easy access and ripening.
Storage Tips:
Store harvested Lady Finger bananas in a cool, dry place to maintain their freshness. Avoid refrigerating unripe bananas, as it can inhibit the ripening process.
What To Do and What Not To Do
What To Do:
- Choose a sunny spot with well-draining soil.
- Plant multiple banana trees for successful pollination.
- Enrich the soil with organic matter before planting.
- Dig a spacious hole for proper root development.
- Water regularly to keep the soil consistently moist.
- Mulch to retain soil moisture and suppress weeds.
- Apply balanced fertilizer during the growing season.
- Prune dead or damaged leaves for a tidy appearance.
What Not To Do:
- Avoid planting in waterlogged soil; ensure proper drainage.
- Planting banana trees too close may lead to overcrowding.
- Over-fertilization can harm the tree, follow recommended guidelines.
- Do not let the soil dry out completely between waterings.
- Refrain from overwatering, as it may lead to root rot.
- Avoid excessive pruning; only trim dead or damaged leaves.
- Do not refrigerate unripe bananas; it hinders ripening.
In Conclusion
Cultivating Lady Finger bananas promises a taste of tropical paradise in your own garden. From planting to harvest, this journey embodies the joy of growing your own nutritious and delicious snack. May your banana grove flourish with the sweet and delicate taste of Lady Finger bananas, turning your space into a banana haven. Happy planting!